Blue Cheese

It’s hard to say what my favorite cheese in the entire world is. It’s a toss up between Seattle-based Beechers Flagship aged cheddar and the Oregonzola Blue. Given what happened with my cheddar cheese, I was looking for redemption when I started this blue cheese.
Blue cheese is complicated because of the timing needs. Not only do you need to do all the normal stuff that you have to do with cheese —hold the temperature, add the culture, hold the temperature, add the penicillin mold, hold the temperature, add the rennet to make the milk semi-solid, hold the temperature, cut the curds, baby the curds, drain, salt, turn, drain, turn, drain, turn, drain turn—blue cheese requires special processes.
Blue cheese is ripened with penicillium. That mold is added during the initial cheesemaking process but, those classic veins in blue cheese come from the cheese being spiked through the entire round of cheese to allow the oxygen to circulate and allow the mold to flourish. This process is called ‘needling.’

After any cheese that requires aging is made, it needs to be cured in a fridge (typically a wine fridge) at a certain humidity and temperature. The blue cheese cannot be cured with other cheeses in the fridge.
Within just a few days, the blue mold spores had jumped from the blue cheese to the regular cheeses. I quickly got the blue cheese its very own fridge. The mold spores will travel to any cheese that is in the same area as them. In fact, the entire fridge needs to be wiped down when the blue cheese is out of it to prevent future contamination.
After the blue cheese has been ‘needled’, it needs to sit in 90% humidity at a low temperature. In the original cheesemaking process, the cheese was aged in actual caves. So making a cheese cave is essential. A 90% humidity is basically like walking through a misted rain or, a wet cave. Keeping the cheese at that humidity and a low temperature of 55 degrees Fahrenheit requires some finesse and work. For my blue cheese, I put it in ripening boxes and then put them in the wine-turned-cheese fridge.

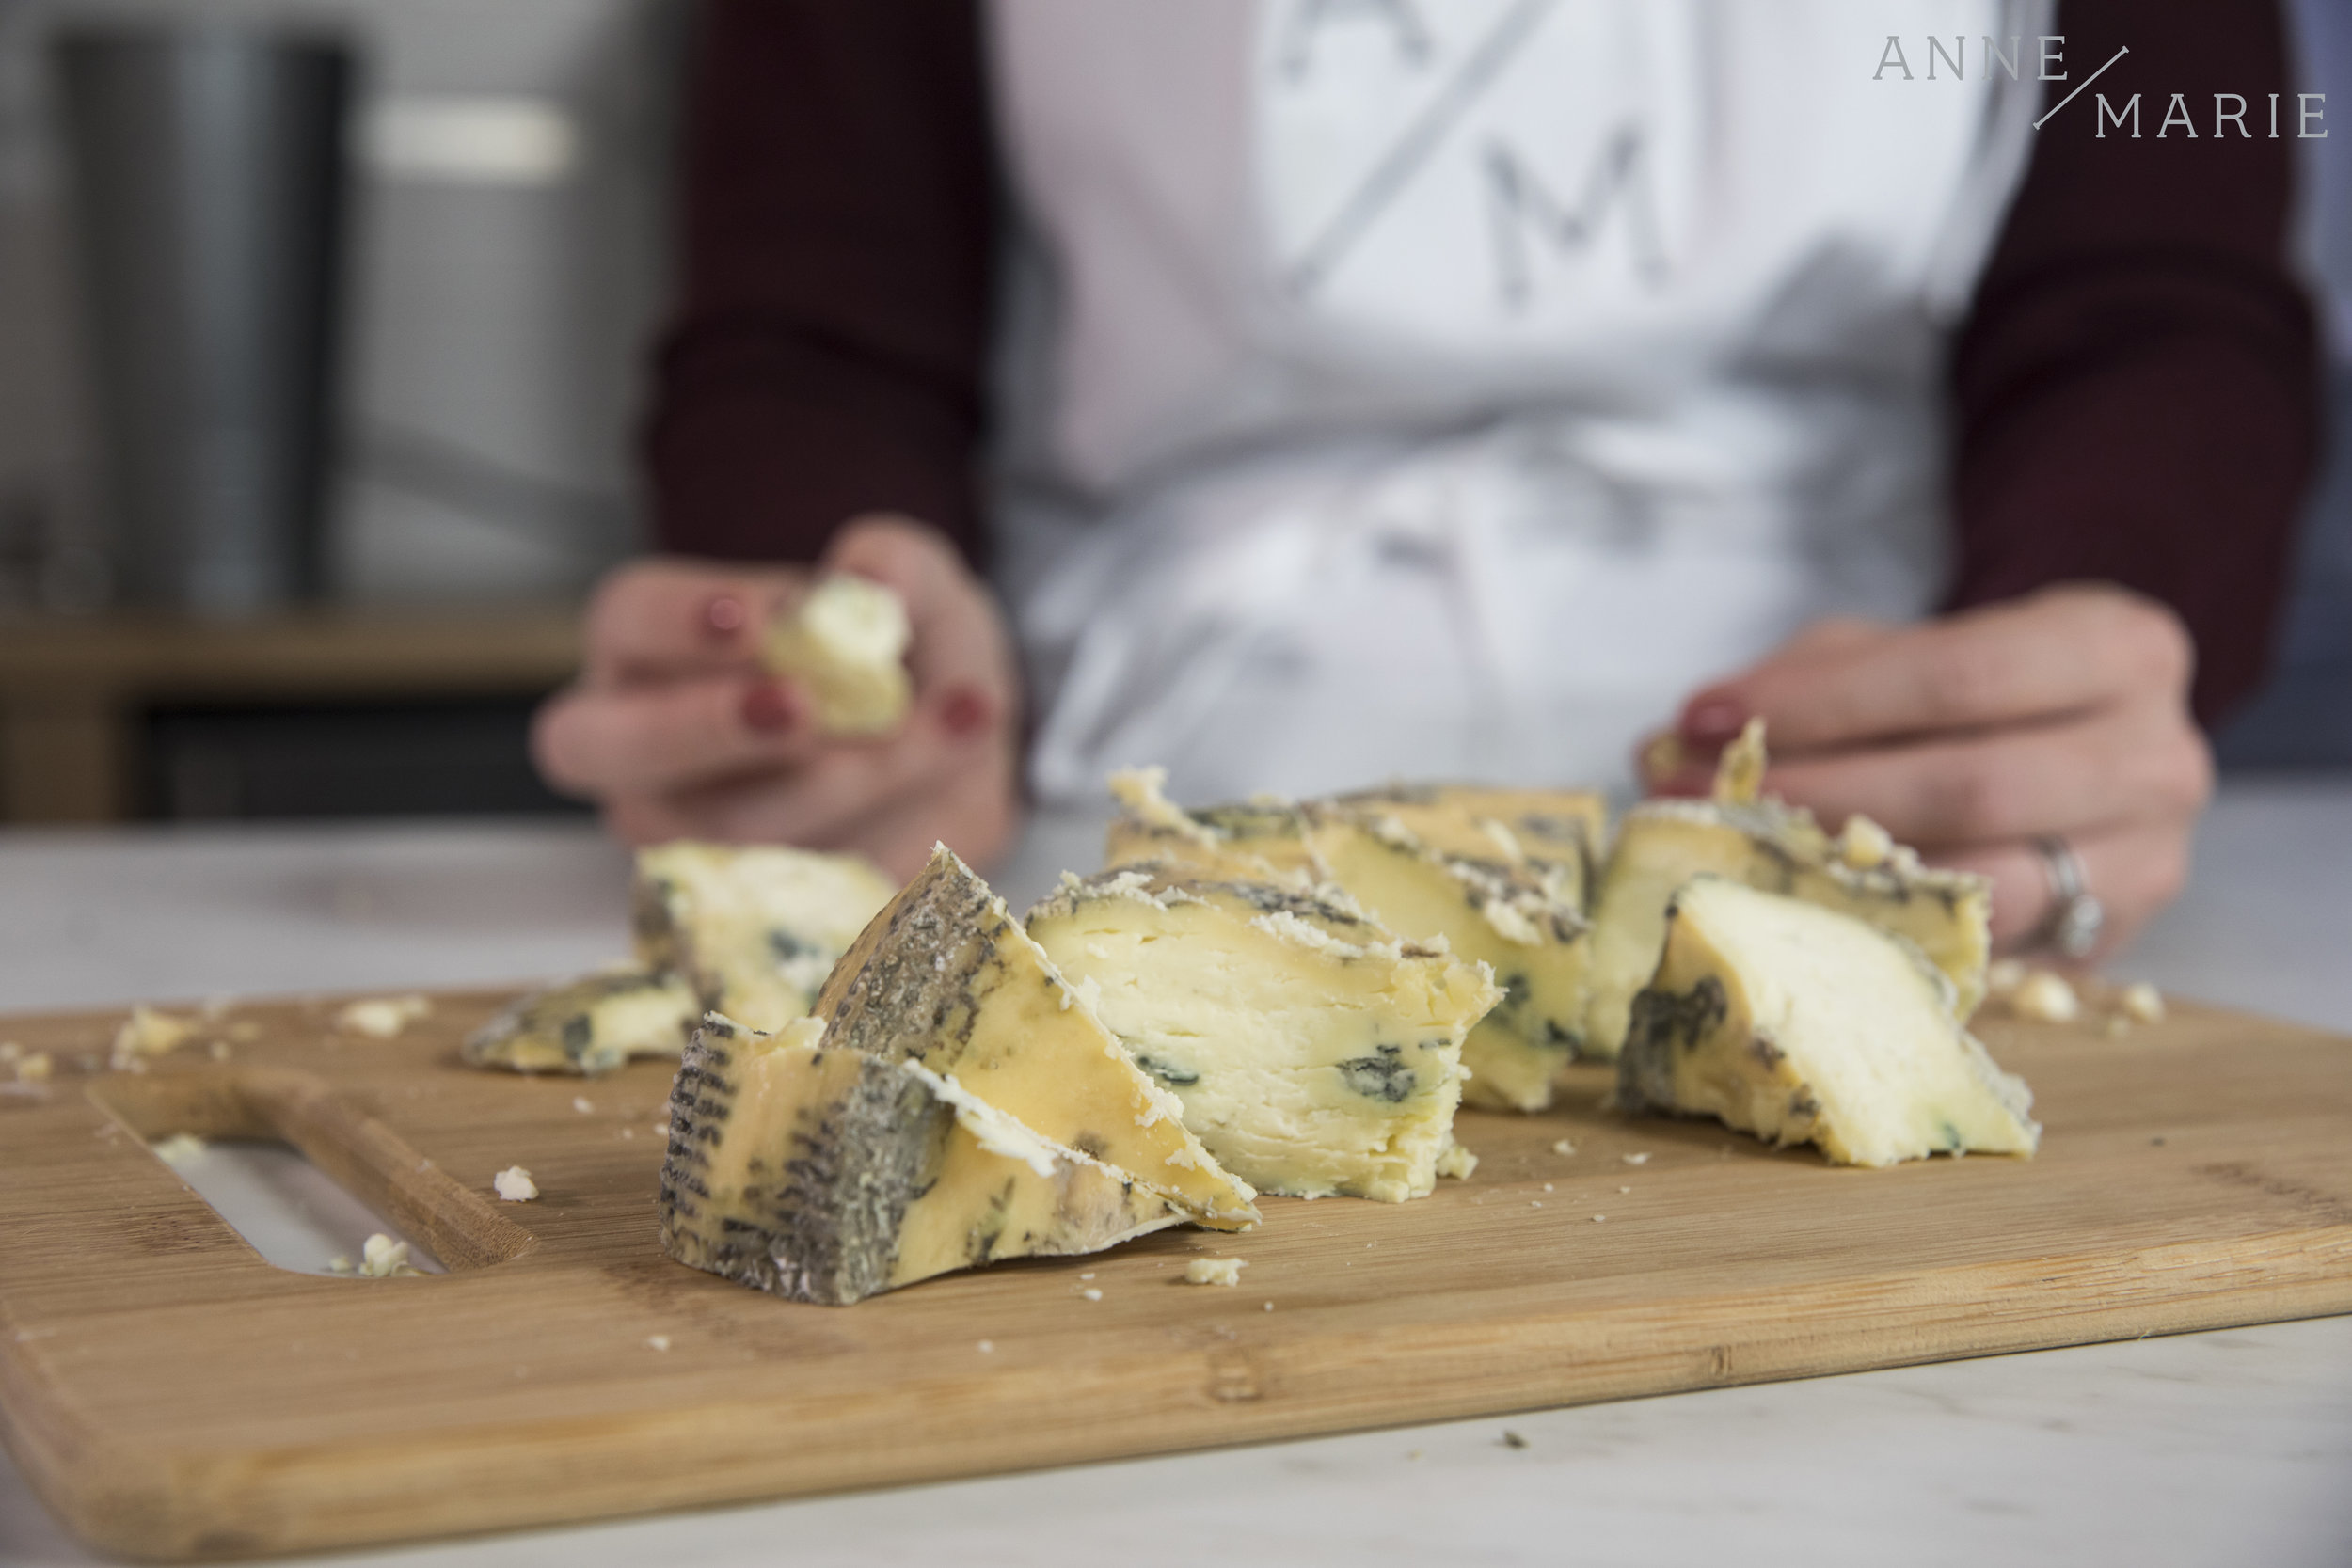
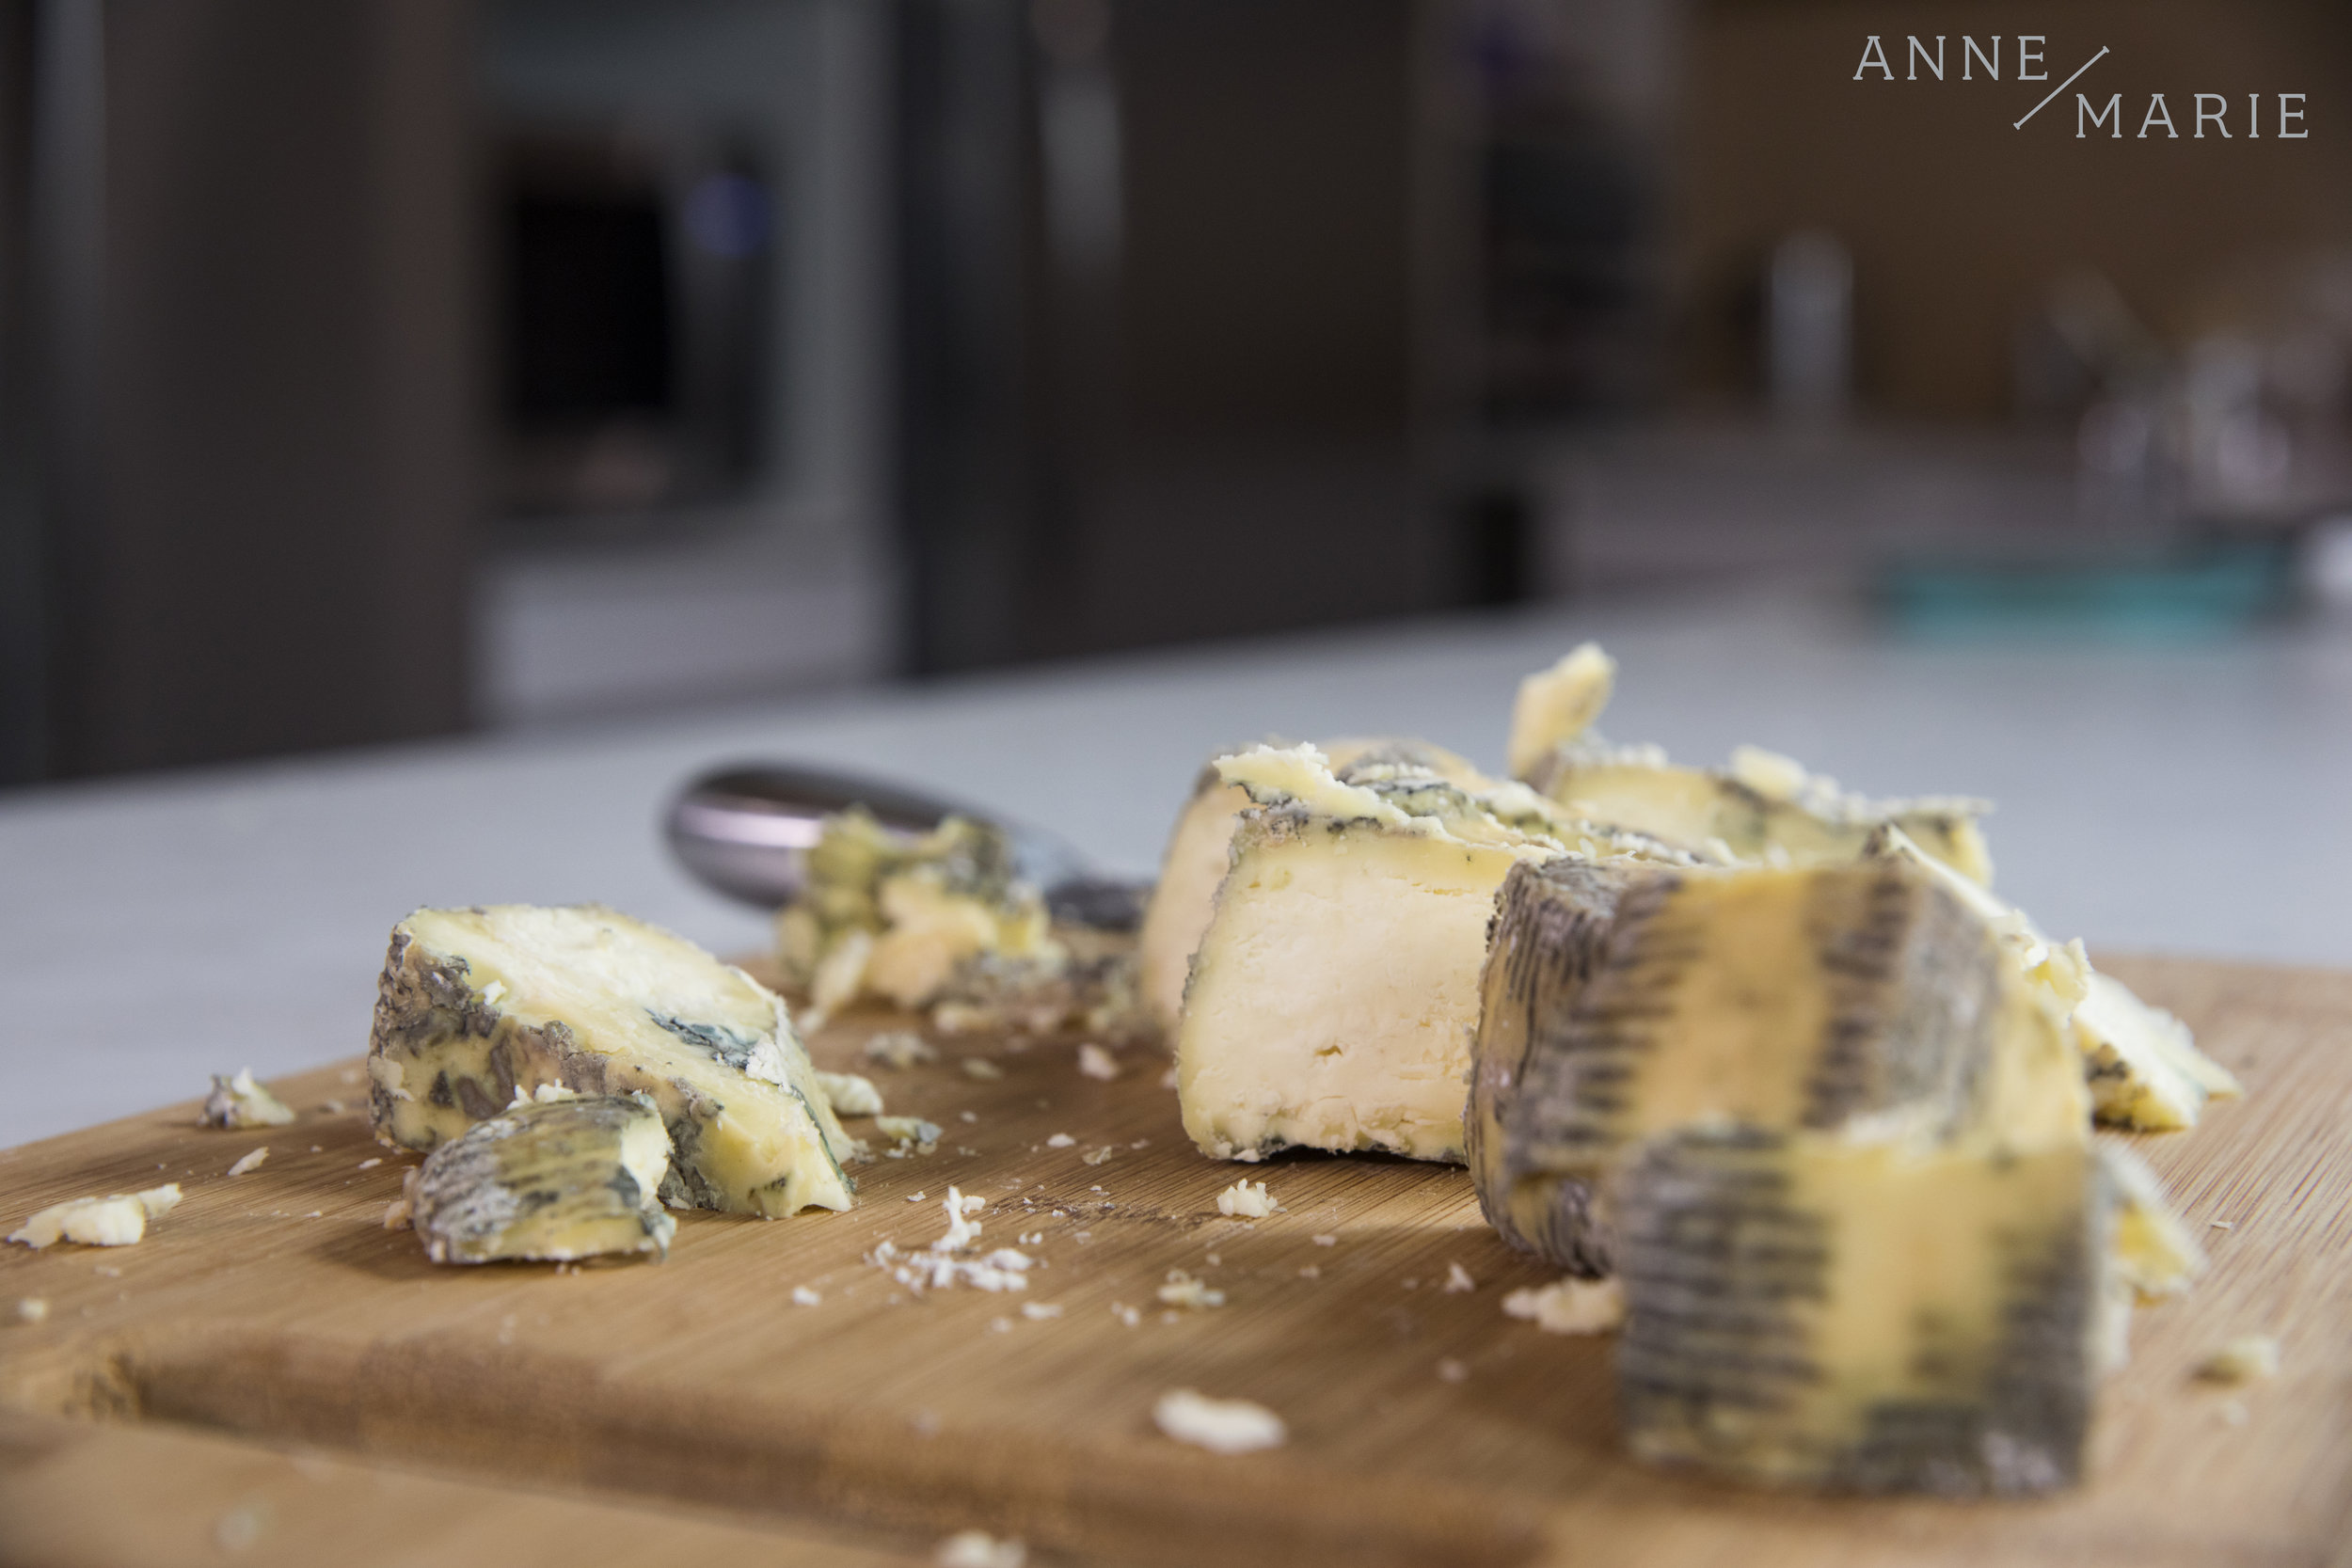
After 4 weeks, the blue cheese is literally covered in a full moldy fur. At that point, wiping it off or even scraping off the mold is essential. This keeps the mold from overcoming the entire block of cheese. We want it to have that distinctive mold taste but not be overmolded. The entire blue cheese ripening process takes about 2.5 months
It’s an interesting, challenging process. It’s worth it. If you decide to give it a try, the technique and recipe I like to use is from my favorite cheesemaking book, Artisan Cheese Making at Home by Mary Karlin on page 184-185.
Ingredients
2 gallons pasteurized whole cow’s milk
½ teaspoon MM 100 powdered mesophilic starter culture
⅛ teaspoon Penicillium roqueforti mesophilic starter culture
¼ teaspoon calcium chloride diluted in ¼ cup cool nonchlorinated water
¼ teaspoon liquid rennet diluted in ¼ cup cool nonchlorinated water
2 tablespoons coarse kosher salt

Directions
In a nonreactive 10-quart stockpot set in a 96 degrees Fahrenheit water bath over low heat, gently warm the milk to 86 degrees; this should take about 10 minutes. Turn off the heat.
Sprinkle the starter and the mold powder over the milk and let rehydrate for 5 minutes. Mix well using a whisk in an up-and-down motion. Cove and maintain 86 degrees, letting the milk ripen for 1 hour, stirring every once in awhile. Add the calcium chloride and gently whisk in, then add the rennet in the same way. Cover and let sit, maintaining 86 degrees for 1 to 1 ½ hours or until the curds give a clean break.
Cut the curd into ½-inch pieces and gently stir for 10 minutes, then let the curds settle to the bottom of the pot. Ladle out 2 quarts of whey and stir the curds for 5 more minutes.
Line a colander or strainer with damp butter muslin and gently ladle the curds into it. Let drain for 5 minutes. Line two 4-inch Camembert molds with damp cheesecloth and set them on a draining rack over a tray. Ladle the curds into the molds, pull the cloth up around the curds and cover the top with the tails of the cloth, and let drain for 12 hours at room temperature. Flip the cheeses at least four times to ensure a uniform shape and appearance.
Remove the cheese from the molds and sprinkle 1 tablespoon of the salt over the entire surface of each, coating them evenly. Gently pat the salt into the surface. Set the cheeses on a mat in a ripening box and age at 68 to 72 degrees and 90 percent humidity. Set the lid ajar a little so there is some air movement. Flip the cheeses daily, wiping away any excess moisture from the box with a paper towel.
After 2 days, use a sterilized knitting needle or round skewer to pierce each cheese all the way through to the other side, 4 times horizontally and 4 times vertically. These air passages will encourage mold growth.
Place the cheeses back in the box and ripen at 50 to 56 degrees and 85 percent humidity for 3-4 weeks. Flip the cheeses daily, wiping away any excess moisture from the box with a paper towel. After 10 days, blue mold should start to appear. Rub off any undesirable mold with a piece of cheesecloth dipped in a vinegar-salt solution and wrung dry.
After sufficient blue mold growth is achieved, wrap the cheeses tightly in foil and refrigerate for up to 4-6 months.
