Taper Birthday Candles

Who doesn’t like making a wish and blowing out the candles on their birthday? Especially when the cake is homemade. And, if the cake is homemade, why shouldn’t the candles be, as well? Making homemade birthday candles can be just one extra step to show how much you care!
It turns out making taper, or dip, candles is super easy. Just melt the wax and dip! This is a great activity to do on your own or with the kids. In fact, this is traditionally a children's activity. In colonial times, candle molds were a luxury, so most families created their own 'dipped' candles. Children collected the wax from the bee hives, melted it and created the candles.
Beeswax is often used for hand-dipped tapers because it is a slow burning wax and the layers go on thicker, resulting in less dipping required to get a thick candle. You’ll also want a thicker wick. If you choose to use paraffin, you’ll want wax with medium or high melting points. Just melt the wax and dip! Melting the wax is the longest part of the process, but after that, it is pretty quick.
“In colonial times, candle molds were a luxury, so most families created their own ‘dipped’ candles. Children collected the wax from the bee hives, melted it and created the candles.”
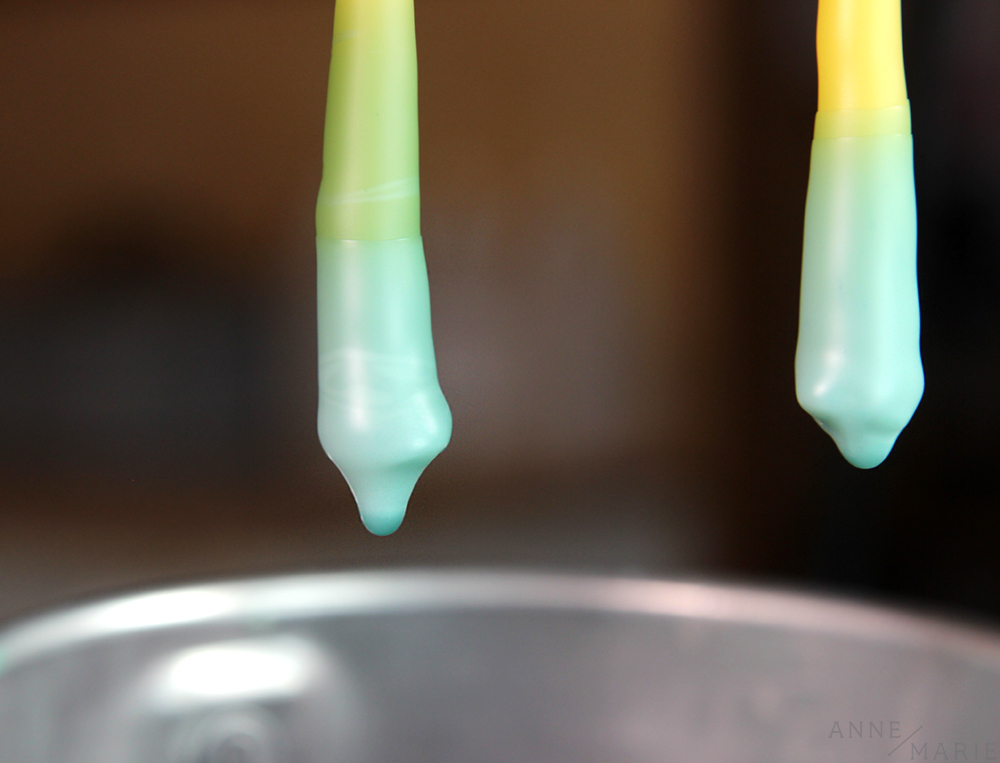
We decided to add teal wax dye after we made a few plain candles. You can be creative with how you want the candles to look. We tried dipping just the bottoms in the blue wax and creating a bit of an ombré look by dipping the candles in less of the wax each time. You could also get a bunch of colors going and make layered candles.

Materials:
Newspaper or workspace covering
Double boiler
Wick
Weight for wick
Wax (beeswax or paraffin)
Thermometer
stick or rig to keep candles separate (optional)
bucket for cool water (optional)
Wax dye block (optional)
Instructions
1. Lay down newspaper, paper towels, a tarp, etc. to protect your workspace. Wax is likely to splatter and drip while you make your candles.
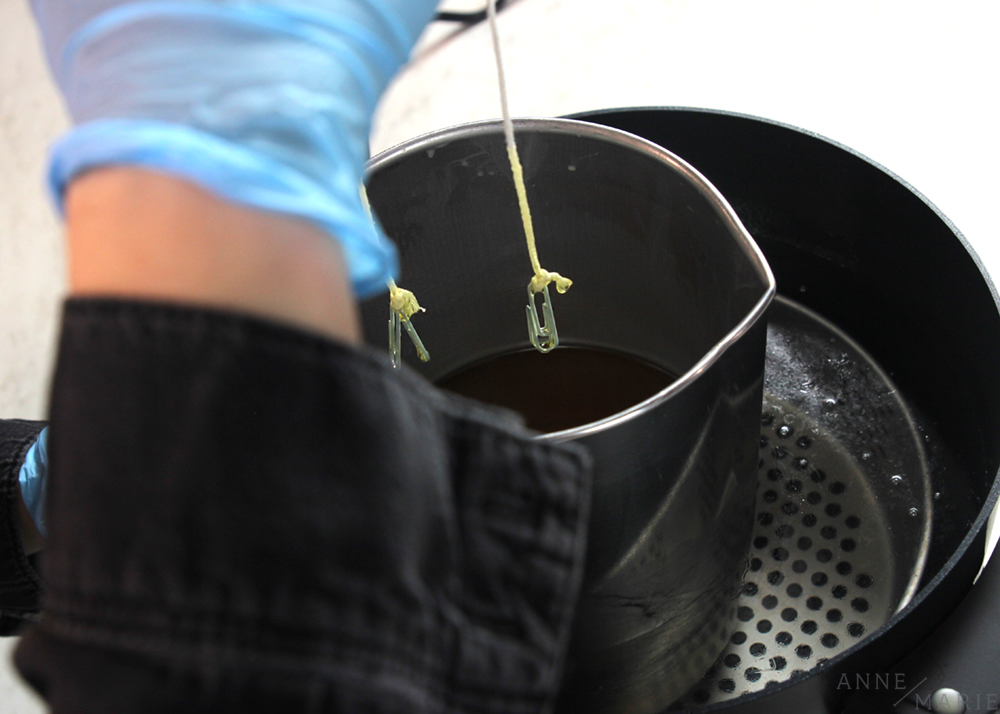
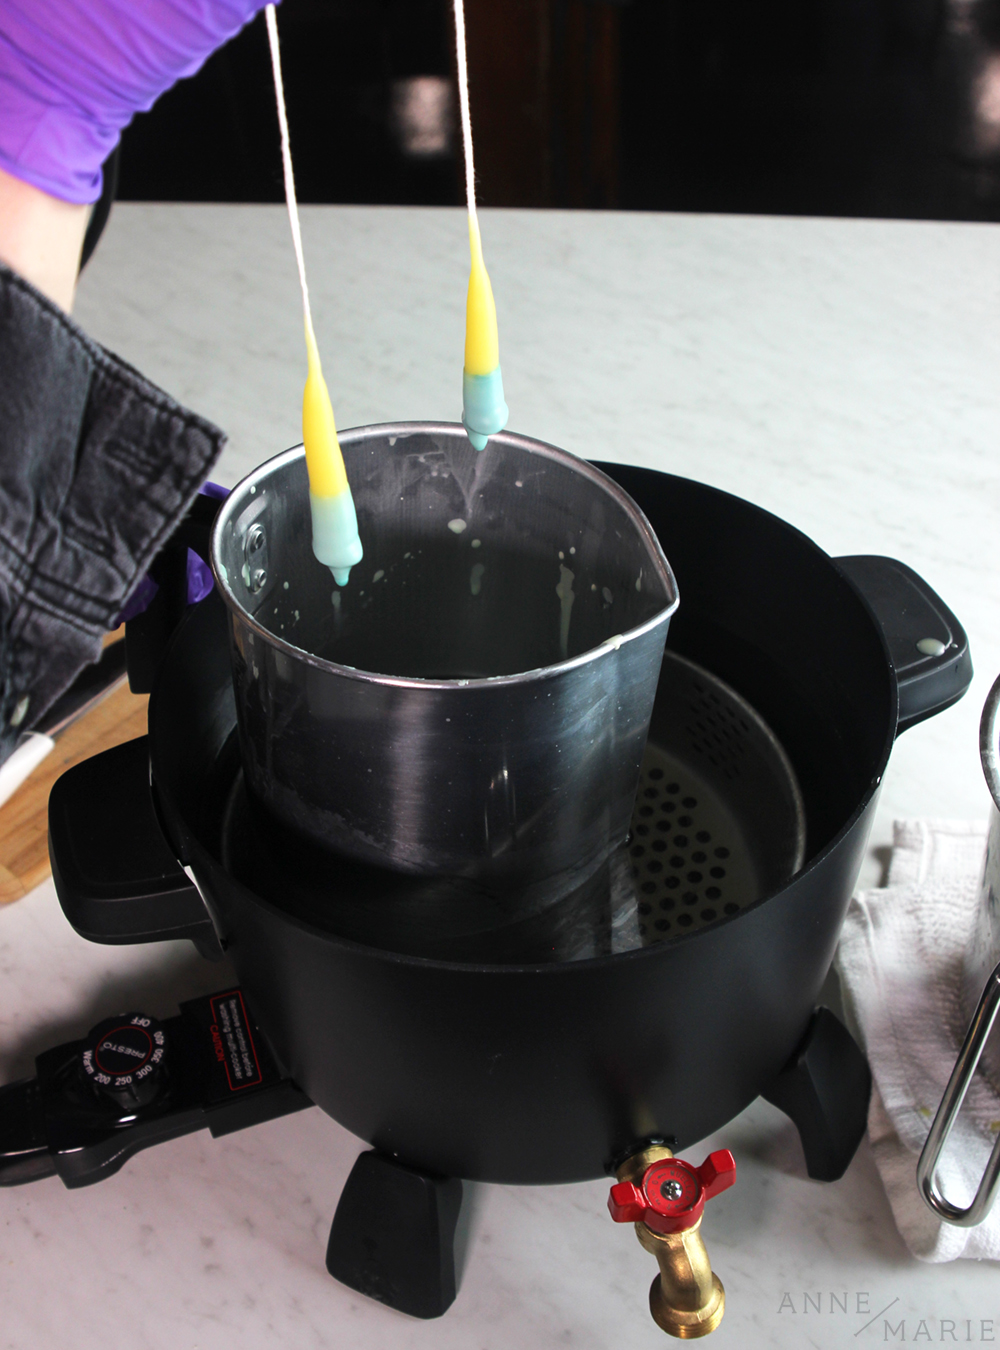
2. Set up a double boiler to melt wax and to keep it heated. Large stock pots work well as the outside vessel. The inside can be an old can. The outer pan will get messy, so don’t use a new pan or something to which you are overly attached. Melt the wax in the inner pot. We used a Presto Wax Melter for the water and a taller pouring pot for the wax.
3. Beeswax, which is what we used, melts at about 145 degrees, so you will want the wax to be about 155-165 degrees Fahrenheit for it to be liquid enough for smooth application. Use a thermometer to test the temperature. Do not add all of the wax at once, instead melt it in increments. Otherwise, the wax may melt together and will take longer to melt. If you are using beeswax, you can crank the temperature up past 165 degrees and wait for it to cool.
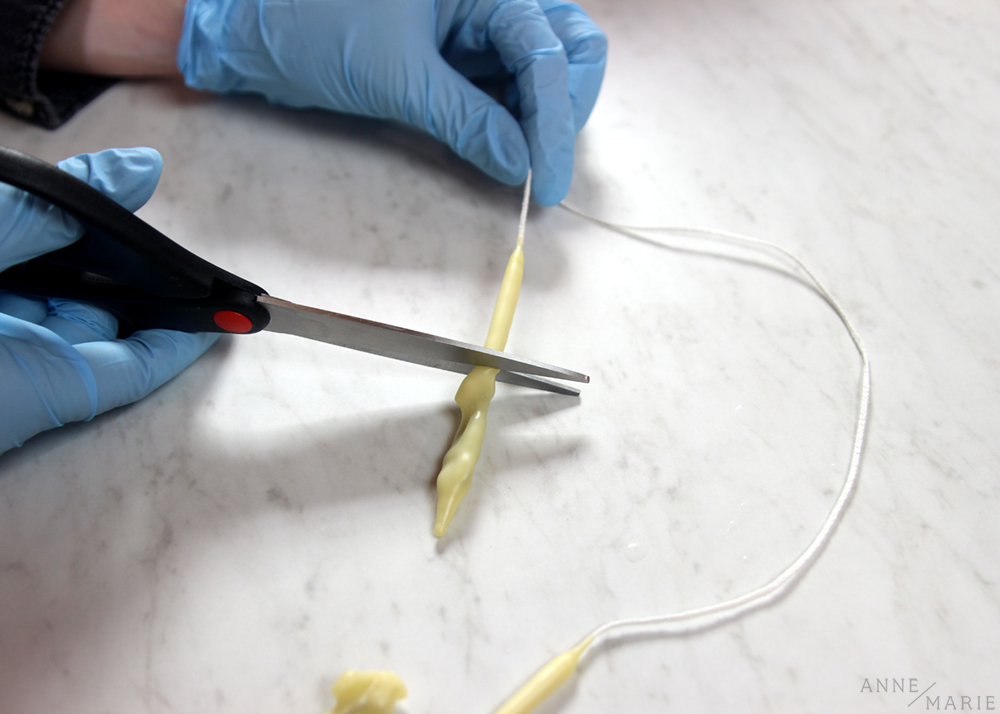
4. While the wax is melting, prepare your wick. You want your wick to be about 2 ½ times larger than your candles will be, so measure your wick before you cut it.
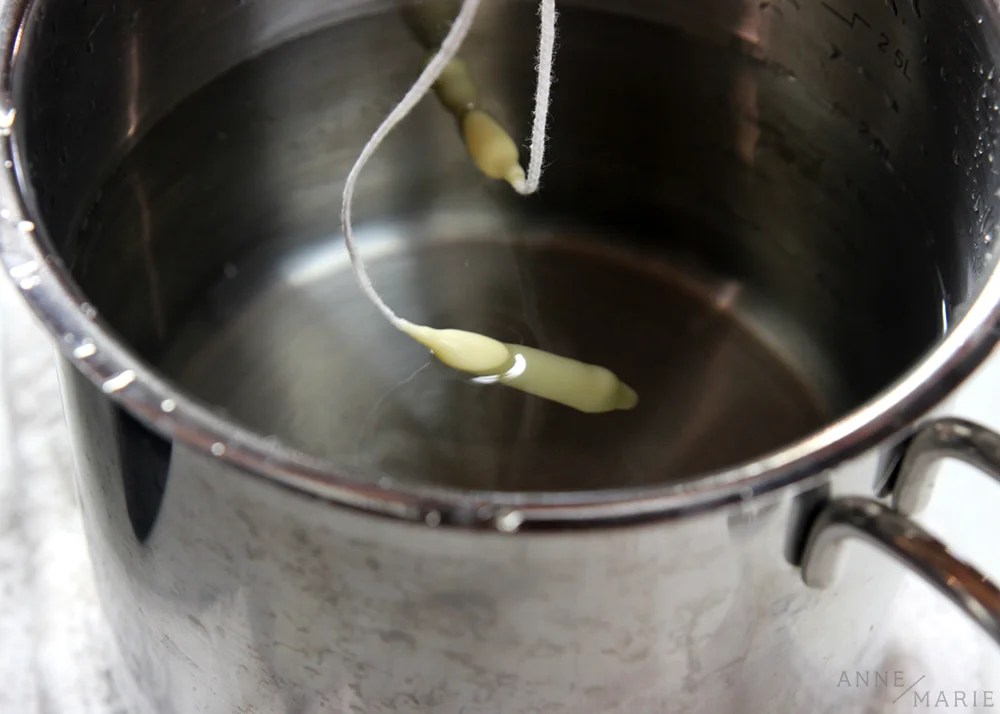
5. Tie a weight to either end of the wick. Nuts work well. You can cut the weights off about halfway through the process, so don’t worry about how they look. The weight will help keep the candles straight. If you don’t weight them, you can straighten them throughout the process. When there is enough wax, they will stay straight on their own.
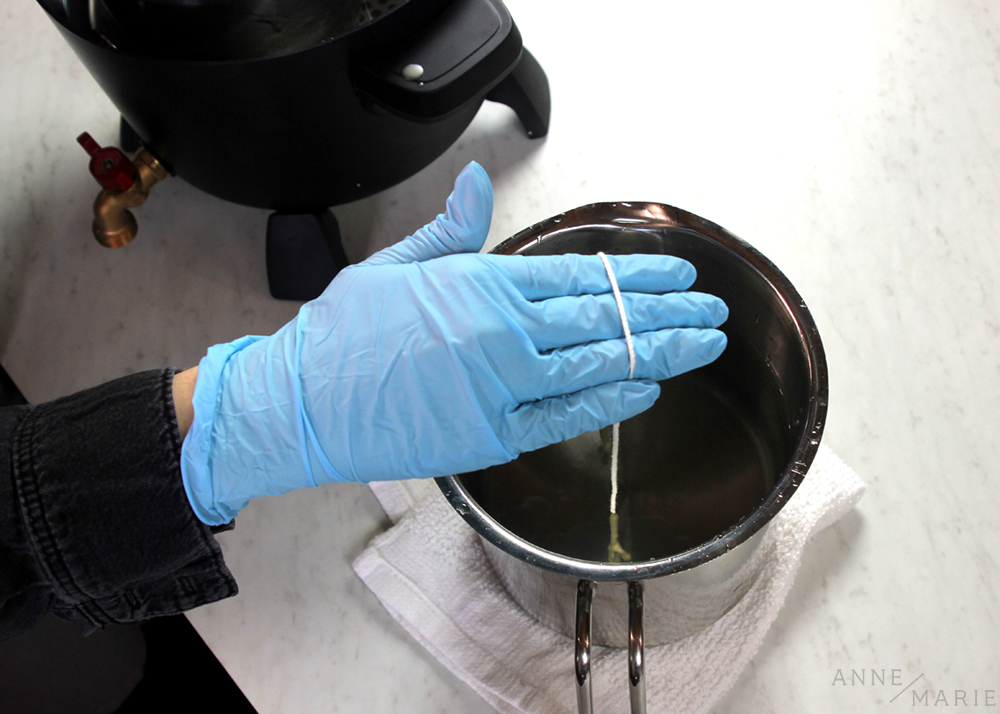
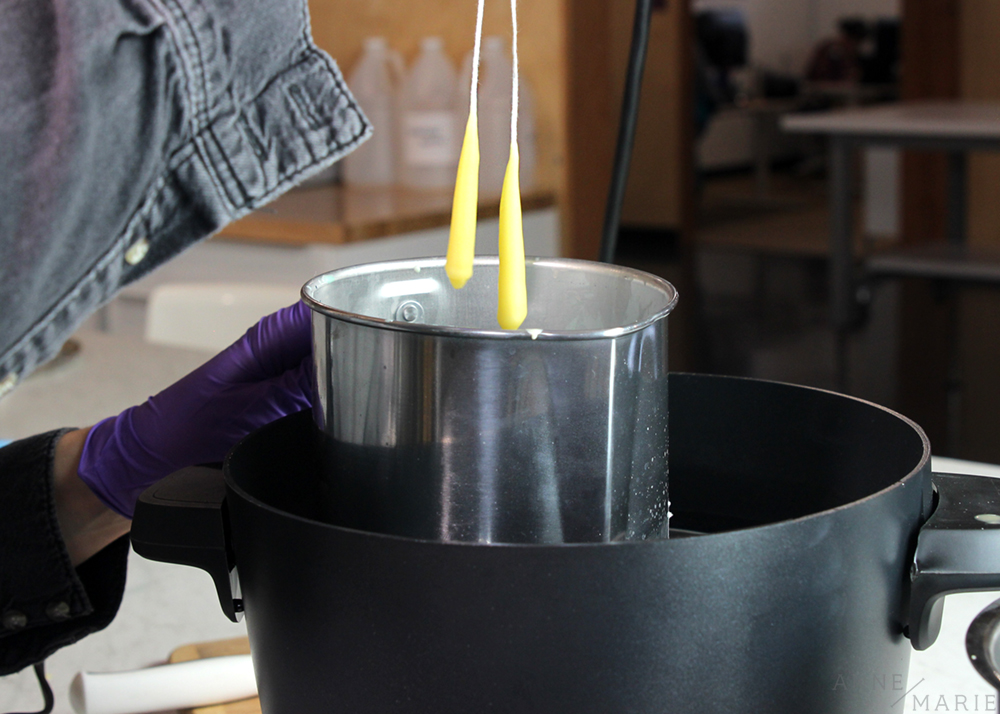
6. Wrap the string around your middle and ring fingers to hold the candles apart. Dip your wicks in the wax. Allow several minutes of cooling between each layer of wax or dip in cool water. If you don’t allow the wax to adequately cool, the wax will start to fall off the wick. Be sure to dip the candles straight down and straight up without pausing if you want even candles. Repeat as needed until you reach the desired thickness.
7. About halfway through the process, cut the weights off the bottoms of the tapers and continue to dip a few more times. Dip until your candles reach your desired thickness.
8. Add wax dye to the wax, if desired. Add a little bit at a time until you get the color you want.


9. Hang the candles to cool. Set up two chairs with a broom across the back as an easy candle rack. Make sure the candles don’t touch as they cool.
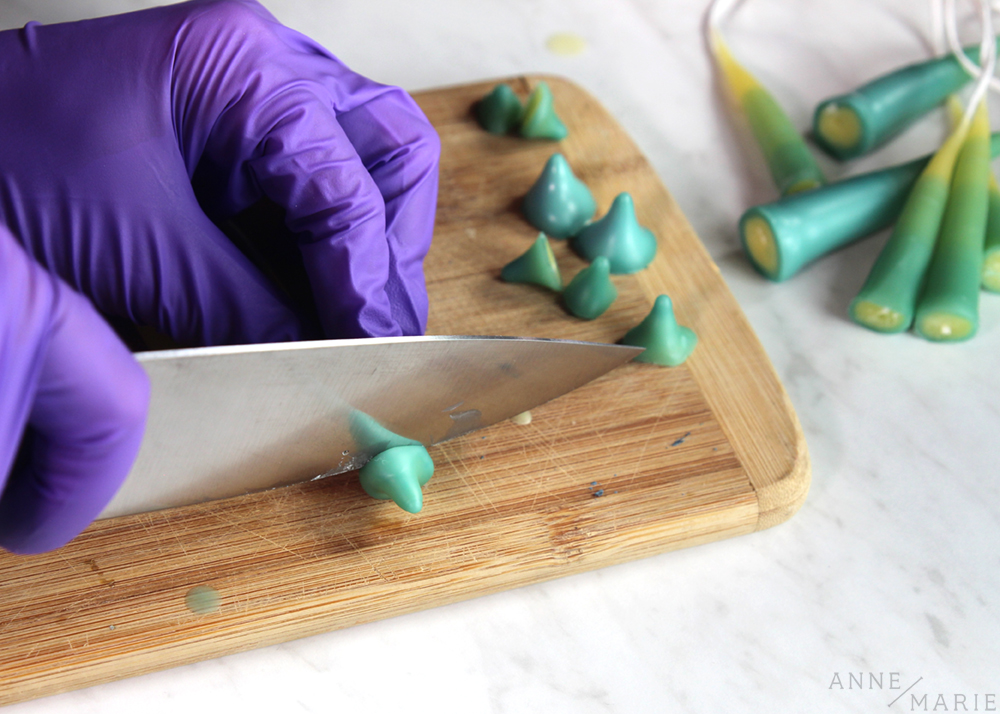
It is best to store the candles in hanging pairs to keep them straight. When you are ready to use one, just cut the wick. You can pour the leftover wax into molds to make other candles or to store it.
